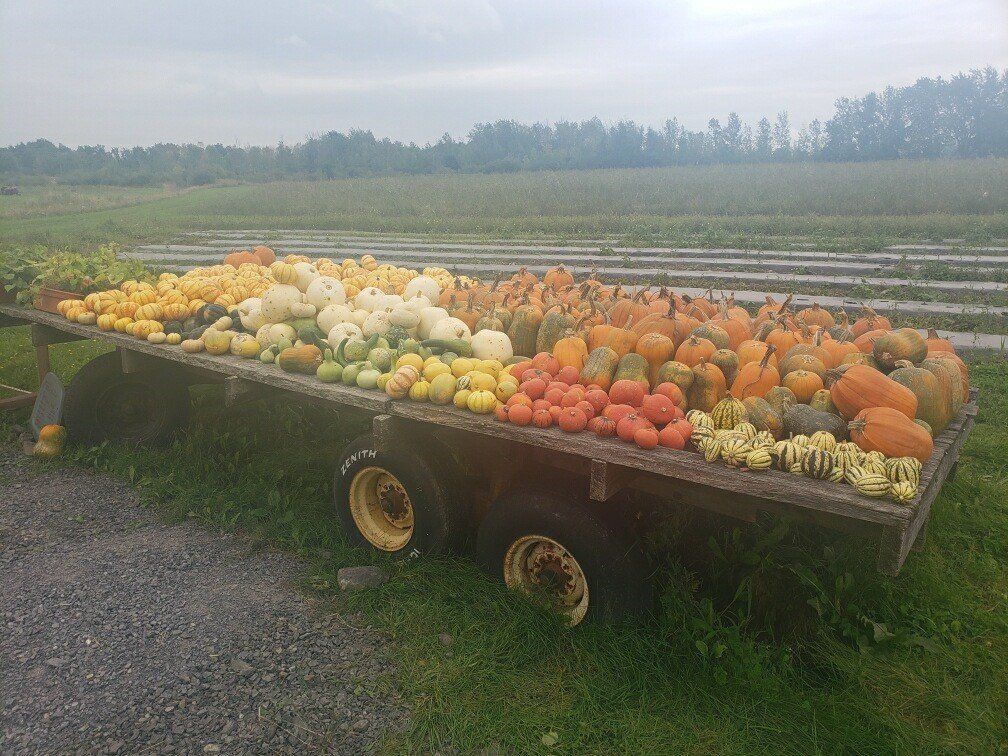
Hello Members - the sunflowers were enjoying their time in the sun at the Farm this morning just as much as we were! We had another good turn out for pick your own - with members munching on the delicious snap peas that they picked in the fields. Thank you for your visit to the Farm and the opportunity to meet you and your family and friends. And we thank Debbie - Debbie -and Ellen for your help this morning - much appreciated!
Happy Fall - as turn the corner on Wednesday!
Featured Vegetables
Personal Spaghetti Squash
4-5 inch, little “mini” spaghetti squashes. These little minis cook up quickly, making it fast and easy to fork out their spaghetti like flesh to top with pizza sauce or a little butter and grated cheese for a quick, nutritious and low-calorie dish. After harvest, these little squashes store very well to enjoy for many good meals.

How to Cook Spaghetti Squash
Ingredients
- large spaghetti squash (2 small spaghetti squash can be subbed per 1 large)
- 1 Tbsp oil
- 1 pinch sea salt
Instructions
-
Preheat oven to 400 degrees F (204 C) and line a large rimmed baking sheet or baking dish with parchment paper or foil.
-
Carefully halve spaghetti squash lengthwise using a sharp knife. I find the best way to do this is inserting the very tip of a very sharp large knife into the side of the squash (lengthwise) and push it all the way through to the other side. Then rock the knife back and forth to cut one half all the way through, then repeat on the other side.
-
Use a spoon to scrape out the seeds and most of the stringy parts.
-
Brush the interior with oil and sprinkle with a little salt. Place cut-side down on baking sheet. Roast for 45 minutes, or until a knife easily pierces the skin and flesh. Remove from oven and set aside.
-
Note: For a more moist squash, omit the oil and instead add just enough water to cover the bottom of your baking sheet or baking dish and bake at 400 degrees F (204 C) until a knife easily pierces the exterior – about 35-45 minutes.
-
Once slightly cool, flip squash flesh-side up and use a fork to scrape out the strings.
Pad Thai Spaghetti Squash
Ingredients
for 2 servings
SQUASH
- 1 spaghetti squash
- 2 tablespoons olive oil
- 1 teaspoon salt
- 1 teaspoon pepper
FILLING
- 1 cup diced cucumbers
- 1 cup sliced carrot
- 1 cup diced bell pepper
- ½ cup chopped green onions
- ½ cup diced onion
- ½ cup roasted peanut
- ¼ cup fresh cilantro, chopped
PEANUT SAUCE
- ¼ cup warm water
- 3 tablespoons soy sauce
- 1 tablespoon sesame oil
- 2 tablespoons honey, or agave
- 2 tablespoons fresh lime juice
- 1 tablespoon sriracha
- ½ cup creamy peanut butter
- 1 tablespoon fresh ginger, peeled and minced
- 1 tablespoon garlic, minced
Preparation
- Preheat oven to 400ºF (200ºC).
- With a sharp knife, slice the squash in half. If the squash is too tough, puncture in several places forming a dotted line around the squash. Microwave for 3-5 minutes to soften. Allow to cool before cutting in half.
- Scoop out the seeds, brush with oil, and sprinkle with salt, and pepper. Bake for 40-45 minutes, or until a fork can easily pierce the skin.
- Meanwhile, make the peanut sauce: combine the water, soy sauce, sesame oil, honey, lime juice, Sriracha, peanut butter, ginger, and garlic in a liquid measuring cup or medium bowl, stirring to combine.
- Remove the squash from the oven and, with a fork, pull at the edges to produce that stringy “spaghetti” quality.
- In a large bowl combine the “spaghetti” with the cucumber, carrots, bell pepper, green onion, onions, peanuts, cilantro, and the sauce. Add mixture back to the hollowed out spaghetti squash halves.
- Enjoy!
Blue Potatoes

An oddly shaped, dark-skinned tuber with a purple interior that turns blue when it's cooked, the spuds originated in South America.
-
Healthy Potatoes
Energy-rich potatoes are low in fat and packed with vitamins and minerals such as potassium and iron.
-
Blue Potato Texture
As a medium-starch potato, blues are a good all-around spud that hold their shape during cooking. The skin is thin, so you don't need to peel the potatoes before or after cooking. Because they have a soft, moist texture, blue potatoes are best baked, boiled, roasted or sauteed. They are not as good as higher starch potatoes for making fries. To make fries or crisps, bake them on a bed of salt, which will absorb some of the moisture.
Cooking Blue Potatoes
When cooking blue potatoes, consider their bright color; take advantage of it and serve them with other brightly colored foods. The earthy, nutty, mild flavor and the low sugar content of blues make them pair well with herbs, garlic, pork, poultry and mild cheeses. Roast them with salt, butter and herbs for a side dish. You can also puree or mash them or make a hearty blue soup.
Crispy Baked Smashed Blue Potatoes
1 1/2 lb (~ 700 gram) blue potatoes, small size
- 3 tablespoon (~ 50 gram) unsalted butter, melted
- 1 tablespoon olive oil
- salt
- pepper
- scallions/cilantro/chives/fresh parsley, finely chopped (garnish
Instructions
place potatoes in a pot and top with 2 inches of water. Bring to a boil, then reduce the heat to a simmer until continue cooking until potatoes are soft. About 20-25 minutes depending on size.
- Drain potatoes over a strainer and set aside until there is no more steam from the potatoes. About 5 minutes.
- Preheat oven to 180 Celsius (350 Fahrenheit).
- Arrange potatoes on a baking sheet. Smash each potato with a fork, brush with melted butter, drizle with olive oil (~ 1/4 teaspoon per potato), and sprinkle with salt and pepper.
- Bake/roast for 40-45 minutes until the skin is crispy. Do not flip during baking.
- Remove baked potatoes from oven, serve hot sprinkle with your choice of garnish.
Blue Potatoes Mashed with Roasted Garlic
Ingredients
Directions
- Peel and cut the potatoes into cubes. Boil them in salted water for approximately 15 minutes or fork tender. Once potatoes have cooked, drain the water.
- In a large bowl add the garlic, sour cream, butter, and Parmesan to the potatoes, and mash until desired consistency. Add salt and pepper to taste.
Pie Pumpkin
Small in size, this variety of winter squash is grown to make homemade pumpkin pies and a variety of foods containing the flesh of this squash. Similar in appearance to the traditional pumpkin, the Pie Pumpkin is used primarily for baking, but also for ornamental purposes when decorating tables or outdoor settings. The Pie Pumpkin develops a golden yellow inner flesh that is high in beta-carotene and fiber, and contains other nutrients such as protein, complex carbohydrates, vitamin C, and potassium. The sweet flesh of the Pie Pumpkin is used in baking pies, puddings, soups, savory dishes, and stuffings served with poultry. A purée, made from Pie Pumpkins is canned and available in food stores or it can be made from the flesh of a fresh pumpkin.
Depending on their age when fresh, pumpkins can be stored for 1 to 2 months in a cool dry area. Canned or puréed meat of the pumpkin can placed in an airtight container or bag to be stored frozen if it is cooked. It should be used within 3 months after freezing.
For recipes, 1 pound of fresh pumpkin meat equals: 2 cups cooked pumpkin; 1 cup of puréed; 2 cups of cubes; or 3-1/2 cups of freshly grated pumpkin meat.