December 2, 2021
The Lettuce Rejoice!
Firmly Rooted Farm's Newsletter for their Veggie Loving Farm-ily

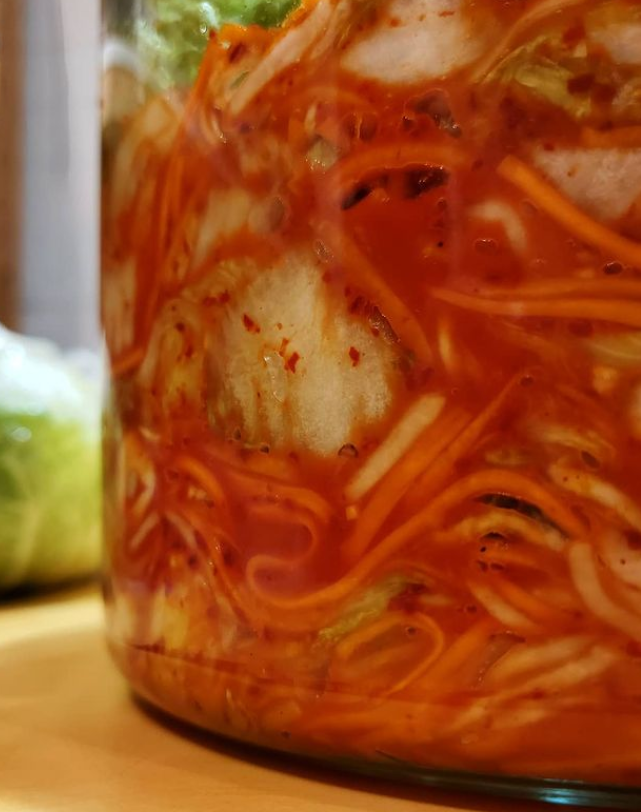
A big ol' jar of kimchi I made a while back.
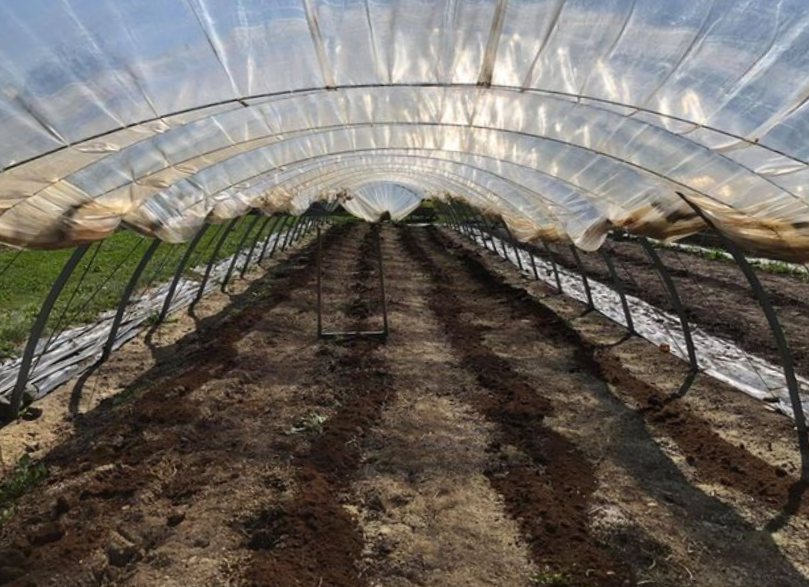
On the Farm: Fermentation Station
Hello again my veggie loving friends,
Mother Nature keeps blanketing us with snow, and then melting it, and then blanketing us again. Now that we all are spending less time outside, we might get the urge to try something new. I’ve lightly suggested fermentation options over the past several months, but it’s about time I did a whole fermentation feature.
Fermentation is a casual hobby of mine. It’s completely safe so long as you follow directions correctly. In fact, it was one of the first methods humans developed to preserve food safely. Some people may assume that fermentation is the same as decomposition, but there are important differences. Bacteria is the deciding factor; if putrefactive bacteria are present in large quantities, then decomposition happens. If fermentative bacteria are present in large quantities, then fermentation occurs. Without getting too much into the science of it, when you are fermenting foods, you are creating an environment conducive to specific wanted enzymes, yeasts, and bacteria.
Before we get into more specifics, let us talk about equipment. At the most basic level, you are going to need bowls, a kitchen scale, wide-mouth mason jars, metal rings, weights, and cheesecloth. This setup allows you to put your fermenting mixes in the mason jars, weigh down to keep air pockets out and mixtures submerged, cover with cheesecloth, and secure with the metal ring. Kitchen scales and bowls should be easy enough to find at a local Canadian Tire, same with mason jars, metal rings, and cheesecloth. Fermentation weights might be a bit harder to find, but you can also get them online from Cultures for Health or Amazon. The only advice I would give regarding your kitchen scale is to get one that can be converted to grams, as most recipes for fermentation, and the ones I will be sharing, measure amounts in grams. Additionally, if you really want to get into it, you could replace the cheesecloth with pickling pipes, which vent fermentation gases without letting oxygen back in. I highly recommend this investment, as it reduces the chances of your ferments growing unwanted moulds. Cultures for Health sells an entire mason jar fermentation kit available here. The equipment I’ve mentioned is really all you need to lacto-ferment food. If you were going to venture into any other fermentation processes such that which makes kombucha, you’d need to add a few things. But today we’re only going to be talking about lactic acid fermentation.
This is the process generally used to ferment fruits and vegetables (as well as yogurt). There are several strains of lactic acid bacteria, and many are already part of the natural flora of most vegetables and fruits. You assist the fermentation process by adding salt, and the lactic acid bacteria lowers the pH of the fermenting food as they ferment, killing off any harmful unwanted bacteria. An important part of this process is the creation of an anaerobic environment, meaning no oxygen. This doesn’t mean you have to turn your fermentation room into a vacuum, your fermenting experiments still need to breathe as they give off gasses. Instead, this means you must ensure that your fermenting mixture is completely submerged in a brine.
Some vegetables and most fruits have enough liquid within them that you don’t have to create a brine to submerge them in. Instead, you simply salt the fruit or vegetable and the process of osmosis goes to work to pull water from the fruit or vegetable to create a brine. Most other vegetables, however, require a brine to be made. This is simply done by mixing water (see this link for choosing a water source) and salt (see this link for choosing the right salt).
First, let's talk about only salting your vegetables or fruits that don't require brine. Say you want to make sauerkraut. This is as easy as shredding your cabbage and adding salt. But how much salt? A general rule is about 2%-5% of the weight of your produce. So if I was fermenting 100g of cabbage, I would salt it with 2-5g of salt. Picking your percentage of salt depends on how much you love the taste of salt, but I err on the low side and use 2.2% salt. Sprinkle the salt over the cabbage in a bowl, distributing evenly and massaging in the salt with your hands. You should already start seeing water start to collect at the bottom of the bowl when you’ve finished massaging. Next, pack the cabbage tightly in a sterilized mason jar and avoid air pockets, leave an inch or so of space at the top, top with your fermentation weight, cover with cheesecloth or a pickling pipe, and secure with a metal ring. Sauerkraut is one of the easiest ferments you can start with. It’s also easy enough to add a few flavourings, such as grainy Dijon mustard or caraway seed.
Now, let's discuss making a brine, which can be used to ferment cucumbers, green beans, kohlrabi, carrots, beets, the list goes on. Prepare your vegetables by washing and cutting off any stems, pack them neatly into a sterilized mason jar leaving at least an inch or two of space at the top, and top with water. Weigh the water + the vegetables and calculate 2%-5% of that weight. Again, I use 2.2% of the weight in salt. Pour your water back out of the jar and dissolve your salt in it. Top your vegetables back up with water. Here is a handy recipe to explain the process. You can also add any other seasonings you like, such as coriander, dill seed, red pepper flakes, garlic, etc. Again, set up your jar similar to your sauerkraut; use a weight to keep the vegetables submerged, cover with cheesecloth or a pickling pipe, and secure with a metal ring.
For further instructions on how to measure out salt, see this guide. If you’re fermenting and unsure if you should simply salt or use a brine, I’ll say this: think about how juicy the fruit or vegetable you’re dealing with is. The great majority of fruits are very juicy and will only need to be salted to be fermented. However, other than cabbage, most vegetables lack enough water and will require brine.
Okay! So we have the basics down. You’ve gathered your equipment, prepared your ingredients, assembled your jars, and now it’s time to let them sit and ferment. It is best to place your fermenting jars on a plate or other vessel to catch any liquid in the event your jars bubble over. Additionally, store your jars in a dark, cool place. The best flavour is built from slow fermentation, and temperature directly affects the speed of fermentation. If you put your ferments in the fridge to ferment, it will take several weeks until they get that funky flavour, and even months before they get the best flavour. If you store your jars in a cupboard above a stove during the heat of summer, they will be fermented in a matter of days, but the flavour won’t be as desirable. It’s all up to you.
Once you get the hang of fermenting with either only salt or brine and want to get a little more adventurous, I recommend this authentic kimchi recipe. I’ve made this kimchi several times and everyone raves about it. It’s delicious. Now it’s time to turn your kitchen into a fermentation station!
Kitchen Clean-Up
There are only three weeks to go in our winter share! We will launch a regular CSA again in January, and you will be the first to hear about it.
That’s all for now folks, happy eating until next time!
Farmer Erika